
How To Set Up Name Servers In WHM For OVH So You Start
When i first started using a dedicated server it took me ages to finally figure out How To Set Up Name Servers In WHM For OVH So You Start, so I wanted to share this info for other beginners. From my experience with OVH SoYouStart dedicated servers, the price is awesome, but the support isn?t really that great. Especially if you?re new to managing your own dedicated server.
Now, I understand that most server providers likely don?t want to take the responsibility of setting up your server and then take the blame when a security threat comes through, or perhaps just a wrong setting.
Anyway, I?ve decided to create this post on How To Set Up Name Servers In WHM For OVH because it took me such a long time to finally figure out how to setup such a simple element.
Let?s get started first with logging into WHM. (this tutorial does not use SSL commands, you must have access to the WHM dashboard)
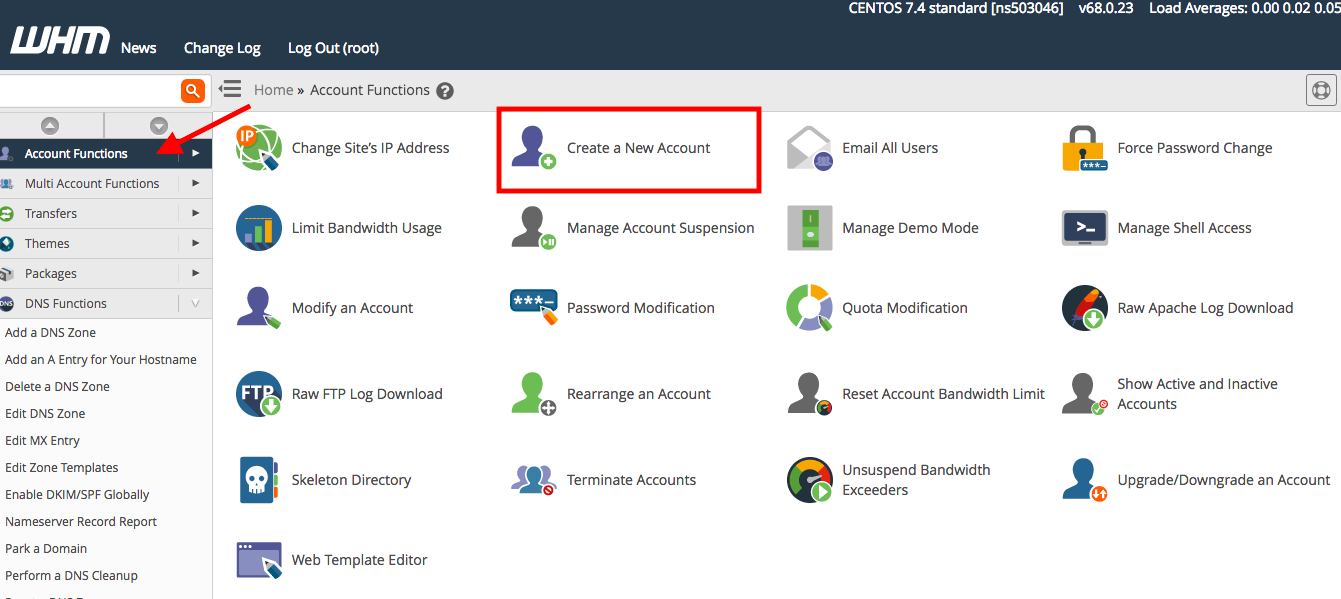
Step 1. Under Account Functions choose the option to Create A New Account
We need to create a cPanel account for your new domain and this is the first step.
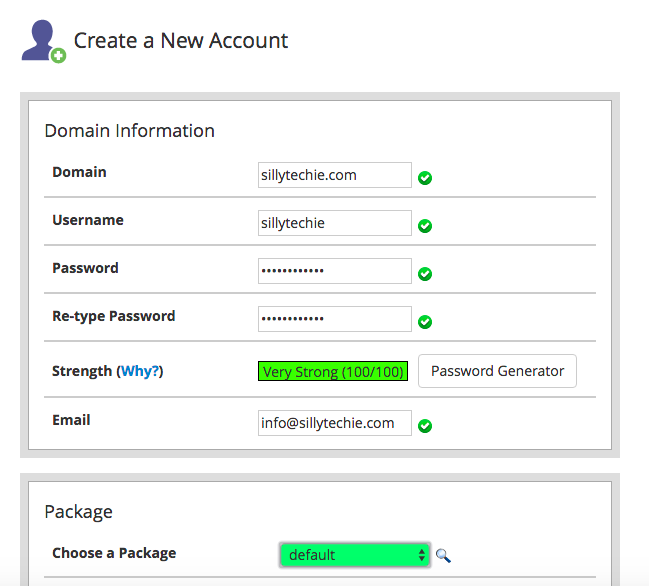
Step 2. Enter your Domain Information
Model what you see below, but for your own domain. This username and password will become your cPanel login and it will auto-create some important settings in regards to your nameserver.

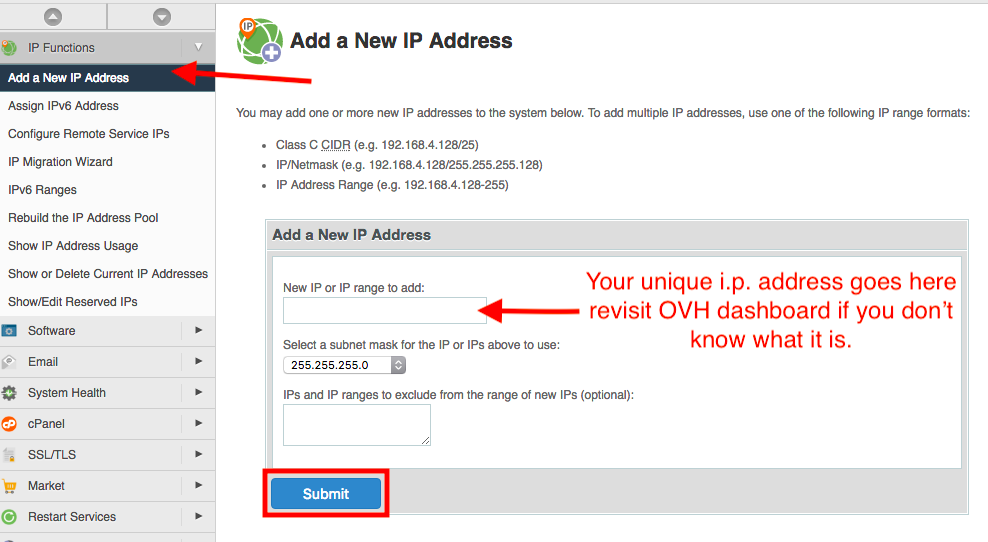
Step 3. Add a New IP Address
If you haven?t already added your new/unique IP address, you need to follow this step. Under IP Functions choose Add A New IP Address (see arrow) and then enter your IP address in the New IP to add box (see arrow with note). Don?t know your IP address? Visit Step 3 b & c to see how to retrieve your IP address from your OVH dashboard.
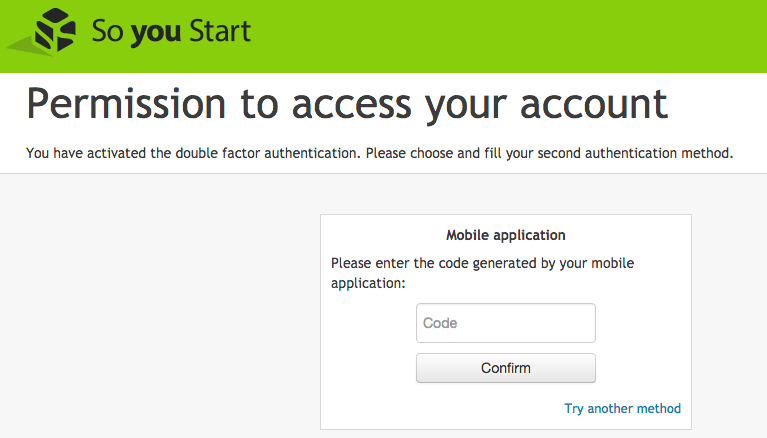
Step 3 b. (optional) Login to OVH SoYouStart Dashboard
This step is optional and is for those who are not sure where to find their IP address. Login to the dashboard for OVH or SoYouStart.
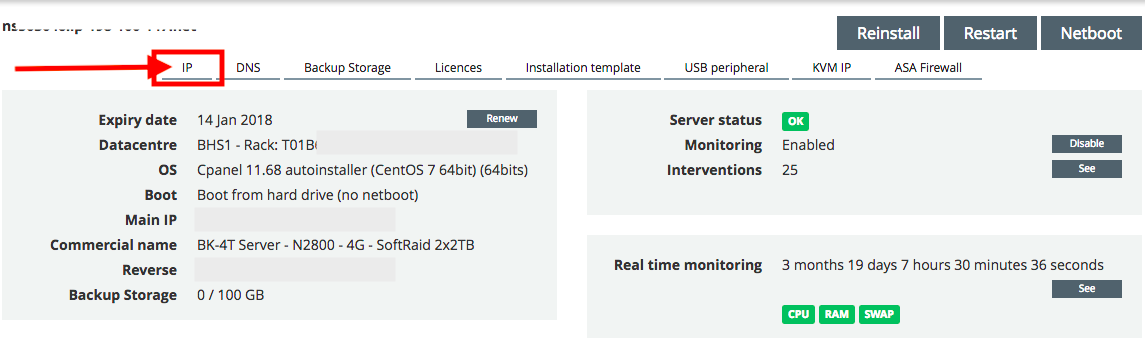
Click on ?IP? tab (see arrow in below image)
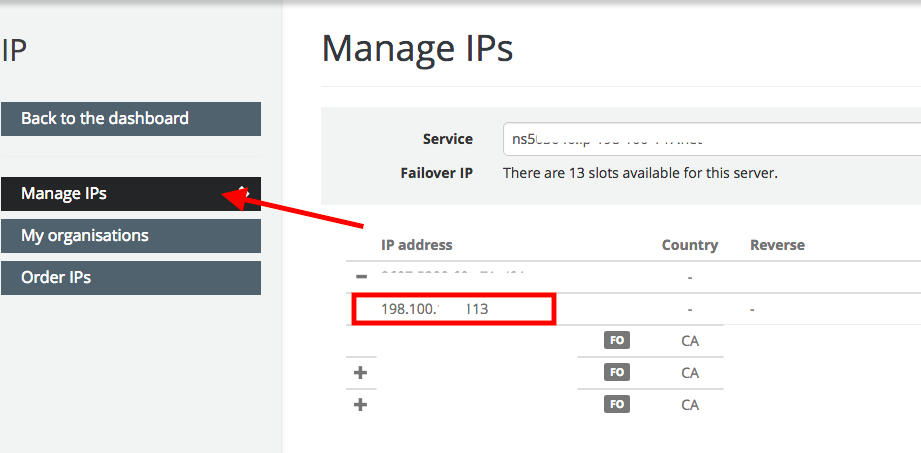
Step 3. c (optional) Open your IP address list
and choose from one of the available IP addresses. Note it down as you will need it in the following steps.
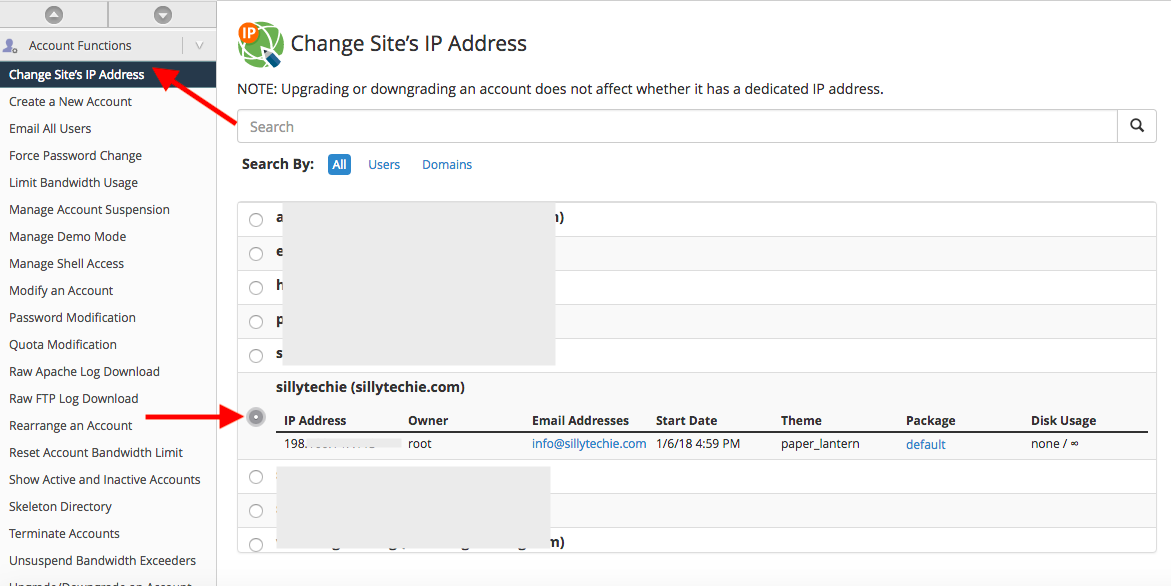
Step 4. Assign IP Address
flip back to WHM and if you haven?t already, make sure you?ve completed Step 3 of adding the IP address to your WHM. Then go under Account Functions and Change Site?s IP Address. Choose the url that is to be assigned to this IP address (see below) and click the Change button.
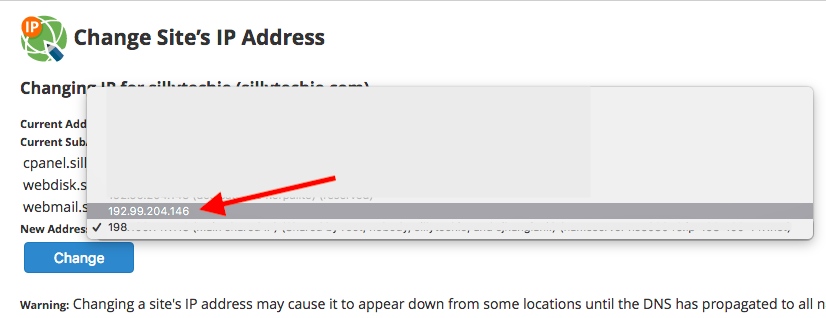
On the next page you choose the unused IP address from the drop down menu. It should NOT be assigned to another domain unless you have domains sharing one IP address (why do you have a dedicated server in this case? haha)
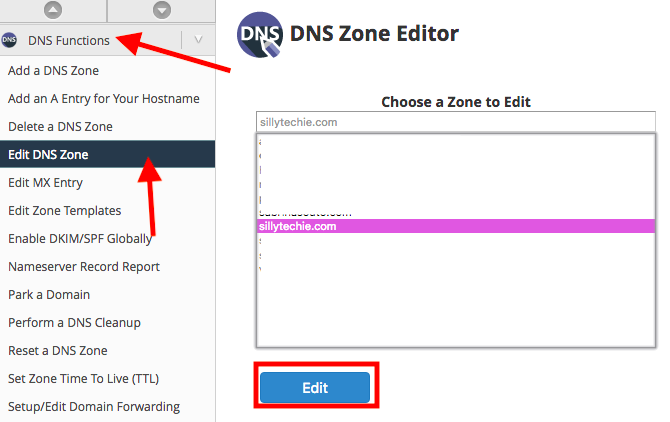
Step 5. Edit DNS Zone
Now we can finally go and add our nameservers so we need to head over to edit the DNS zone. As you see in the image go under DNS Functions and then choose Edit DNS Zone. Choose your new domain from the list and then click the blue Edit button.
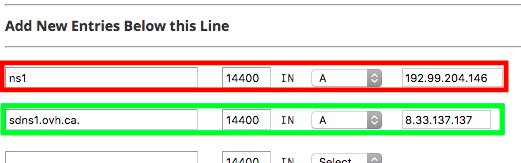
Step 6. Add A Records
First you need to add the A records for your new nameservers. When it comes to OVH the secondary nameserver will always be the same: sdns1.ovh.ca. (don?t forget the . at the end) and ip will always be 8.33.137.137 (not matter how many domains you add, they will all have this secondary nameserver the same). Primary nameserver will just be ns1 because it will be ns1.yourdomain.com and of course the ip will be your unique ip address for that domain. (see below)
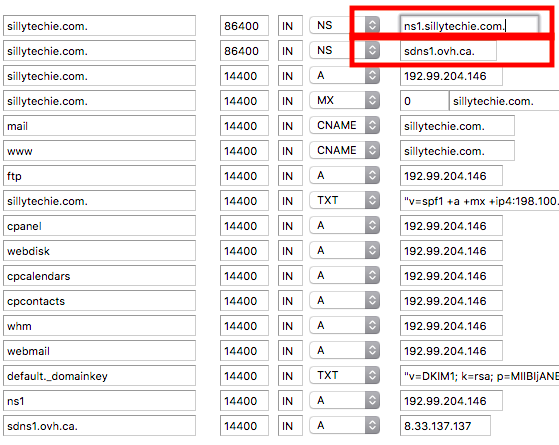
Step 7. Add NameServers to the DNS zone
You?re almost there! Just simply change the name servers at the top of the list to the ones you?ve just created, save and you?re DONE! (see below image for details)
You will now add the following nameservers to your domain registrar:
nameserver1: ns1.yourdomain.com
nameserver2: sdns1.ovh.ca
If you found this tutorial useful on How To Set Up Name Servers In WHM For OVH So You Start, please share. You might also like this post on How To Get 1000?s of Visitors To Your Website