
I recently moved to a city approx. 12,000 km away and had to transport my 27? iMac without damaging it. So I removed the iMac stand and packed the iMac tightly with styrofoam and put it in a box. (I did not have the original iMac box)
When I got to my destination I discovered that the spring-loaded piece of the iMac that the stand attaches to, had sprung back inside the iMac. Just my luck ? this piece is NOT easy to get out without the stand attached. So here?s what I ended up doing to get it out?
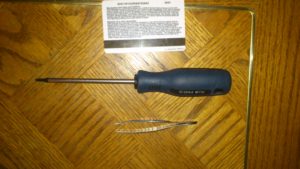
What you will need for this process:
- Torx T8 Screwdriver
- Library card or credit card (preferably one with no engraved numbers/letters on it)
- 8 Pipe Cleaners
- Tweezers
- Large Flat Surface
- Soft Towel or Blanket
- [the_ad id=?581?]
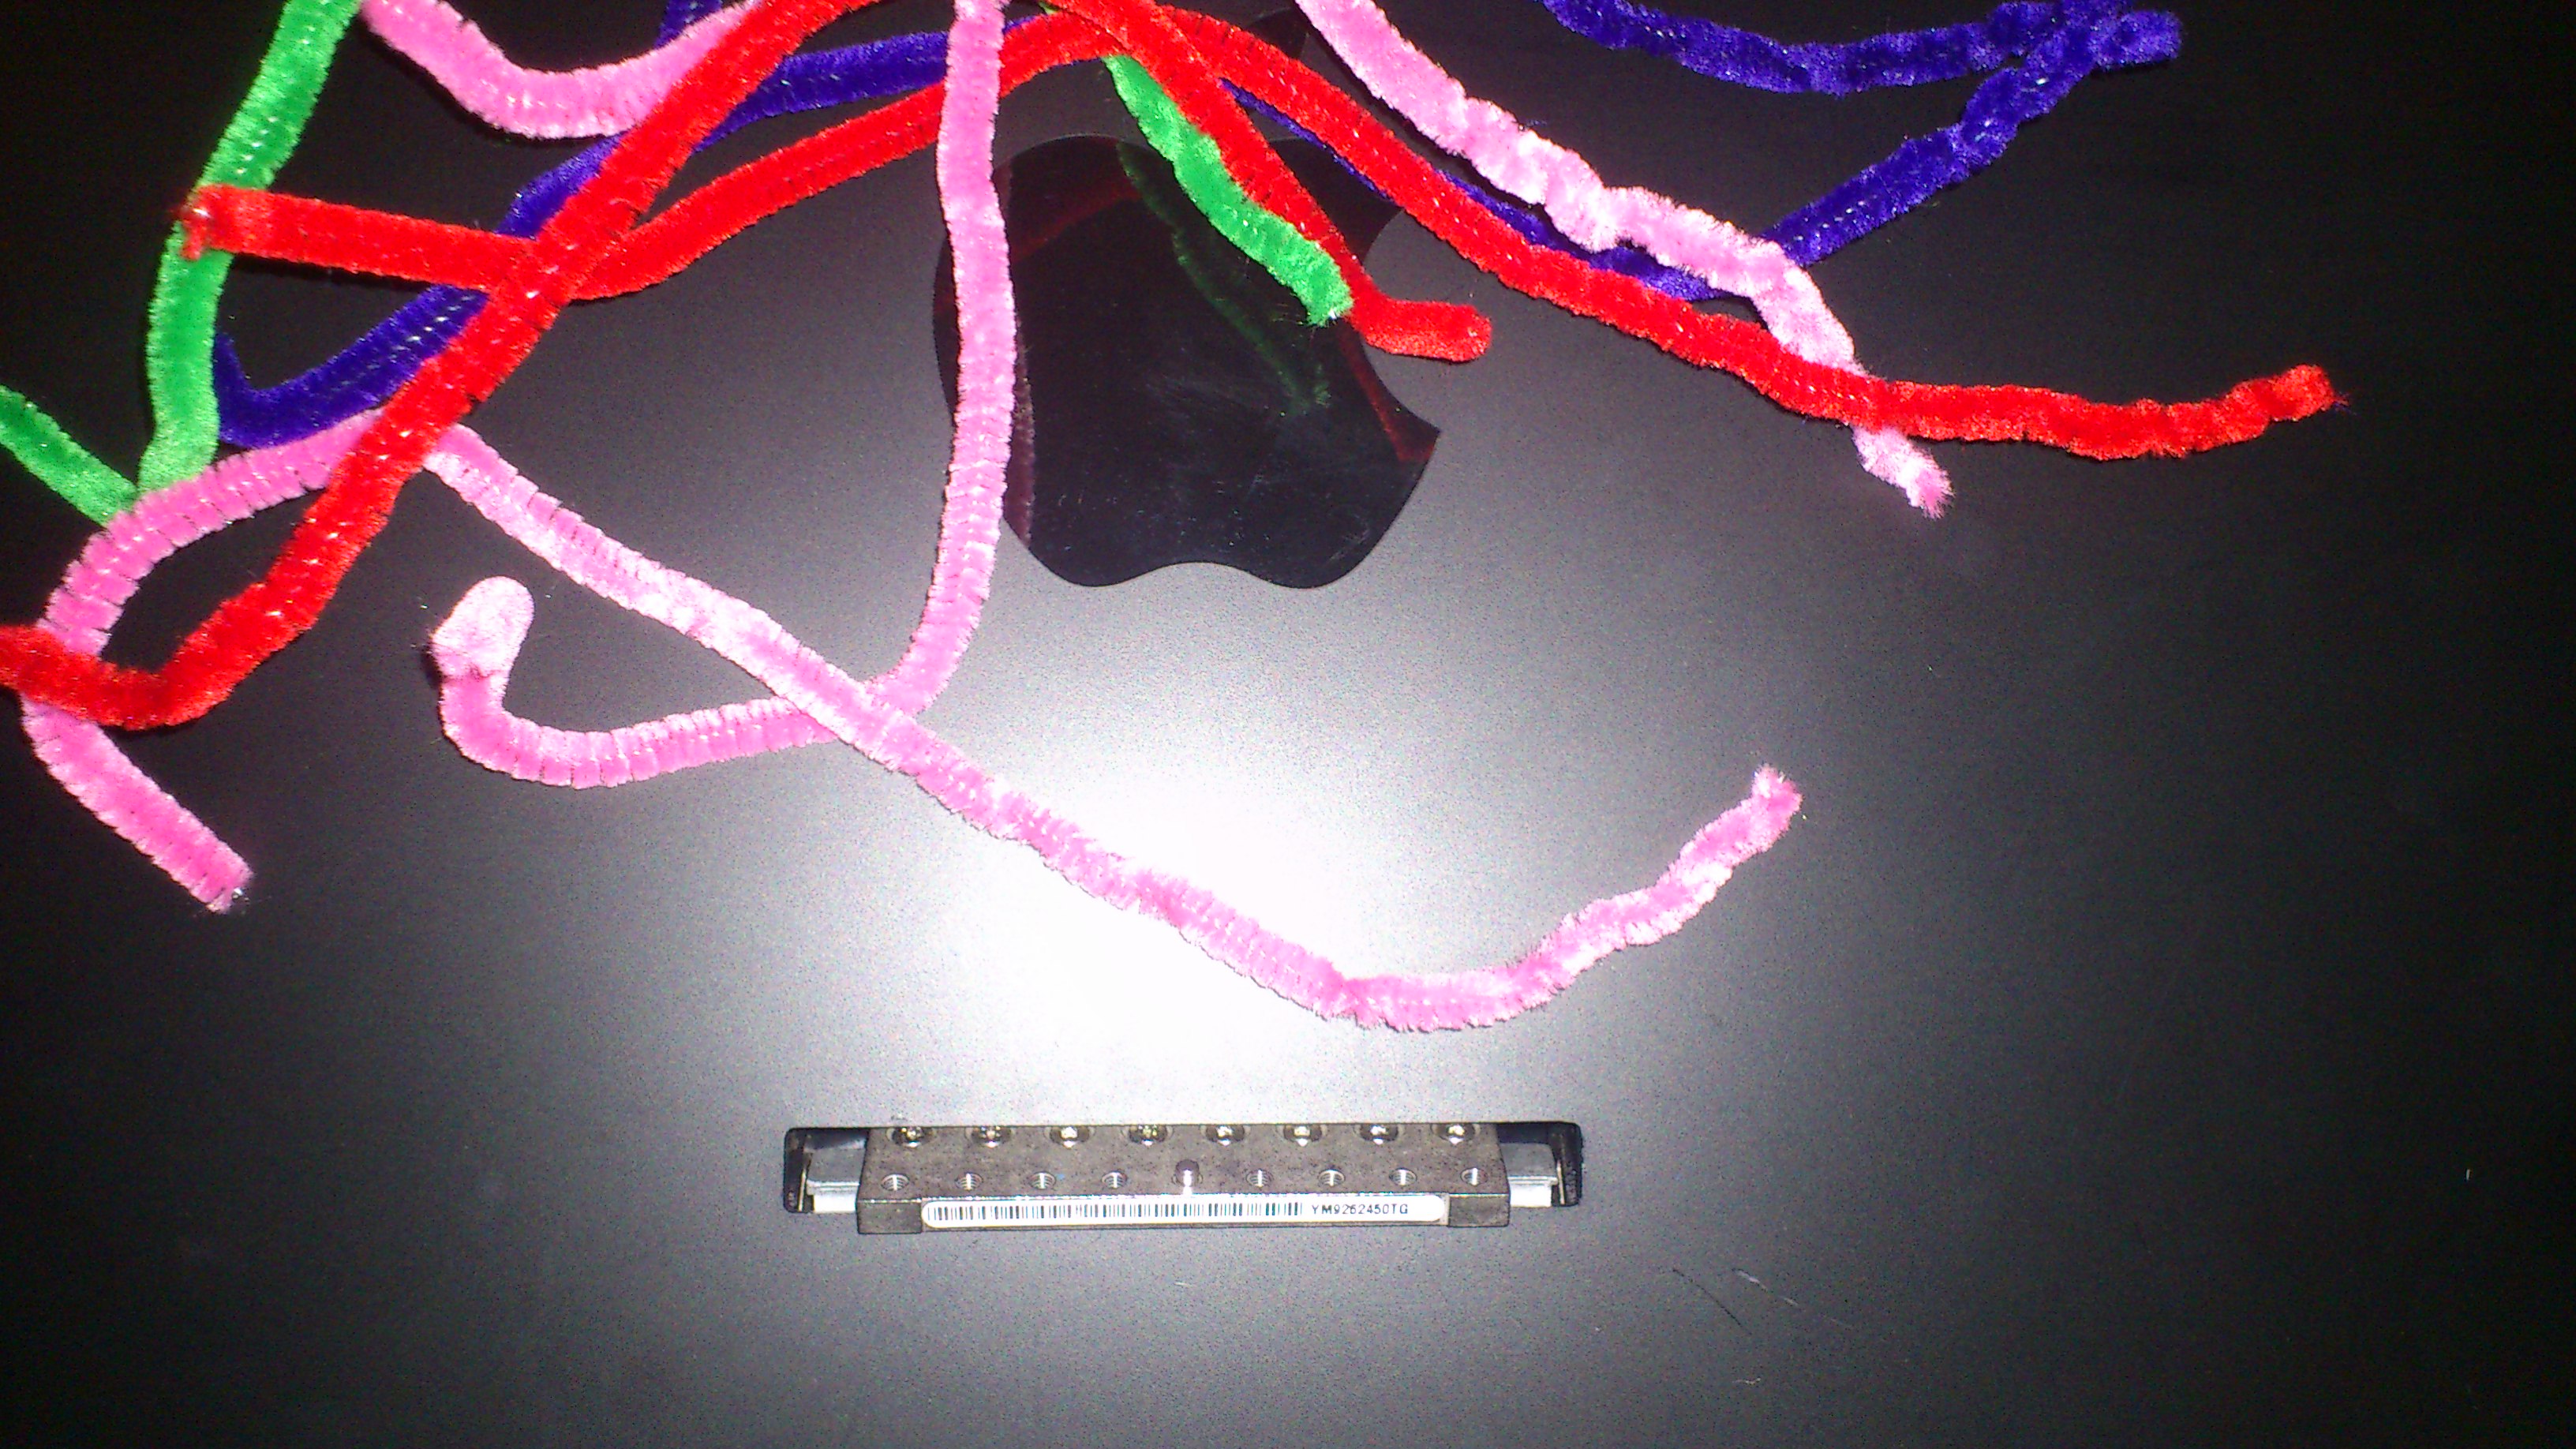
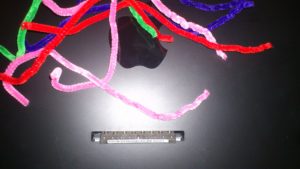
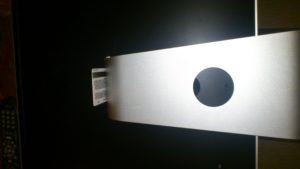
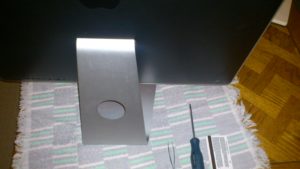
Well firstly, this is what your iMac ?flange? looks like once you?ve removed your iMac stand. The flange is the part of the iMac that we need to retrieve in order to reattach our iMac stand. It is spring-loaded so sometimes it can be difficult to retrieve without some trickery. Unfortunately, I do not have an image of the retracted flange as it was just too difficult to see in the photo. (image below is what the flange looks like when pulled out of the machine)
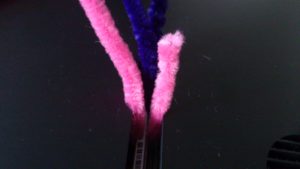
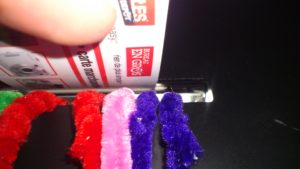
Now you are going to retrieve the flange by threading pipe cleaners through each hole in the flange. These are the holes that your iMac screws are usually screwed into. I found that starting with a bit of a small hook on the pipe cleaner made it easier to thread through.

You will likely only get the pipe cleaner threaded through a small portion without assistance, this is what the tweezers are for. I tried needle-nosed pliers for this, but they were just too big. Tweezers were small enough to fit in the crevasse and tough enough to offer assistance in pulling the pipe cleaner through to the point where I could grab it with my fingers.
[the_ad id=?581?]
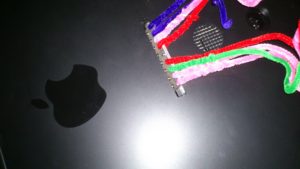
Make sure that you twist the pipe cleaner ends tightly so that they do not come undone when you yank on them later.
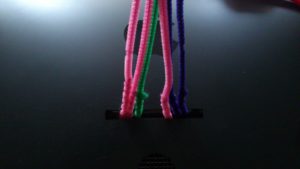
Do this for all 8 holes in the flange. Trust me, you will need them ? I tried with only 6, but the pipe cleaners did not hold.
Now you need to use your plastic card to trigger the switch that allows the flange to move in and out of the iMac. I recommend getting a friend to help you with this step because it can be quite difficult to yank on the pipe cleaners while pressing the trigger with the card at the same time.
Pull on the pipe cleaners until you hear or feel the flange ?click into place?, or once the pipe cleaners are completely outside of the iMac. Now you can remove the plastic card and the pipe cleaners.
[the_ad id=?581?]
Now that you?ve got your flange exposed (get your mind out of the gutter), I would recommend using compressed air to blow out any loose pipe cleaner fuzz. Any left over fuzz can affect the coolness of your machine and therefore, the performance.
From here it is just as easy as positioning the stand and putting in all of the screws.
You will need your plastic card again to hit the trigger in order to click the stand back into position. It will be quite tight at this point, which is why I recommend a card with no numbers or letters embossed on it.
And there you have it! You?ve reattached your iMac stand! Woohoo!
Did you find this article helpful in re-attaching your iMac stand?
Leave me some feedback, or let me know what issues you ran into.
-SillyTechie
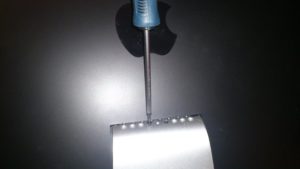
Update April 2, 2014: I read about another guy using this Siding Removal Tool to help him retrieve the flange from his iMac, however I have not tested this method so I cannot confirm or deny that it works. Have you tried this method? Please me know how it worked for you.